Windows 11 Won’t Sleep: 6 Steps to Fix it
A comprehensive guide on fixing Sleep Mode issues
- Is your Windows 11 PC missing the Sleep Mode? Don't sweat it as you are not the only one.
- As a first solution, you should check your power settings to see whether Sleep Mode is activated.
- Check the BIOS settings as well, and make sure that the Power Saving mode is turned on there.
Sleep Mode is often regarded as one of the most beneficial aspects of the Windows 11 operating system, particularly regarding reducing power usage, so it is an issue if there is no Sleep Mode option.
The mode places your device in a low-power state, turns off the display, and allows you to resume your work from where you left off last time. Because of this, Windows employs Sleep Mode rather than entirely turning off the system to conserve battery life on your device.
Why my computer has no Sleep Mode option?
If your Windows 11 device doesn’t have the Sleep Mode option, there are a few elements to be aware of. The major causes remain the following:
- Disabled settings – This should be the most obvious. You may have disabled Sleep Mode on the PC.
- Power plan errors – Some users have misconfigured the Power Plan.
- Malware – When important Settings fail on a computer, this could be a sign that some malware infects the computer. We always recommend using the best antivirus software.
Laptops are most suited for sleep mode due to their battery life, allowing them to last through brief naps and overnight slumbers.
It should be mentioned that if your computer is left unattended for excessive time, it will shut down. So, let us show you the best solutions.
How can I get back the Sleep Mode on Windows 11?
1. Ensure that Sleep Mode is enabled on your device
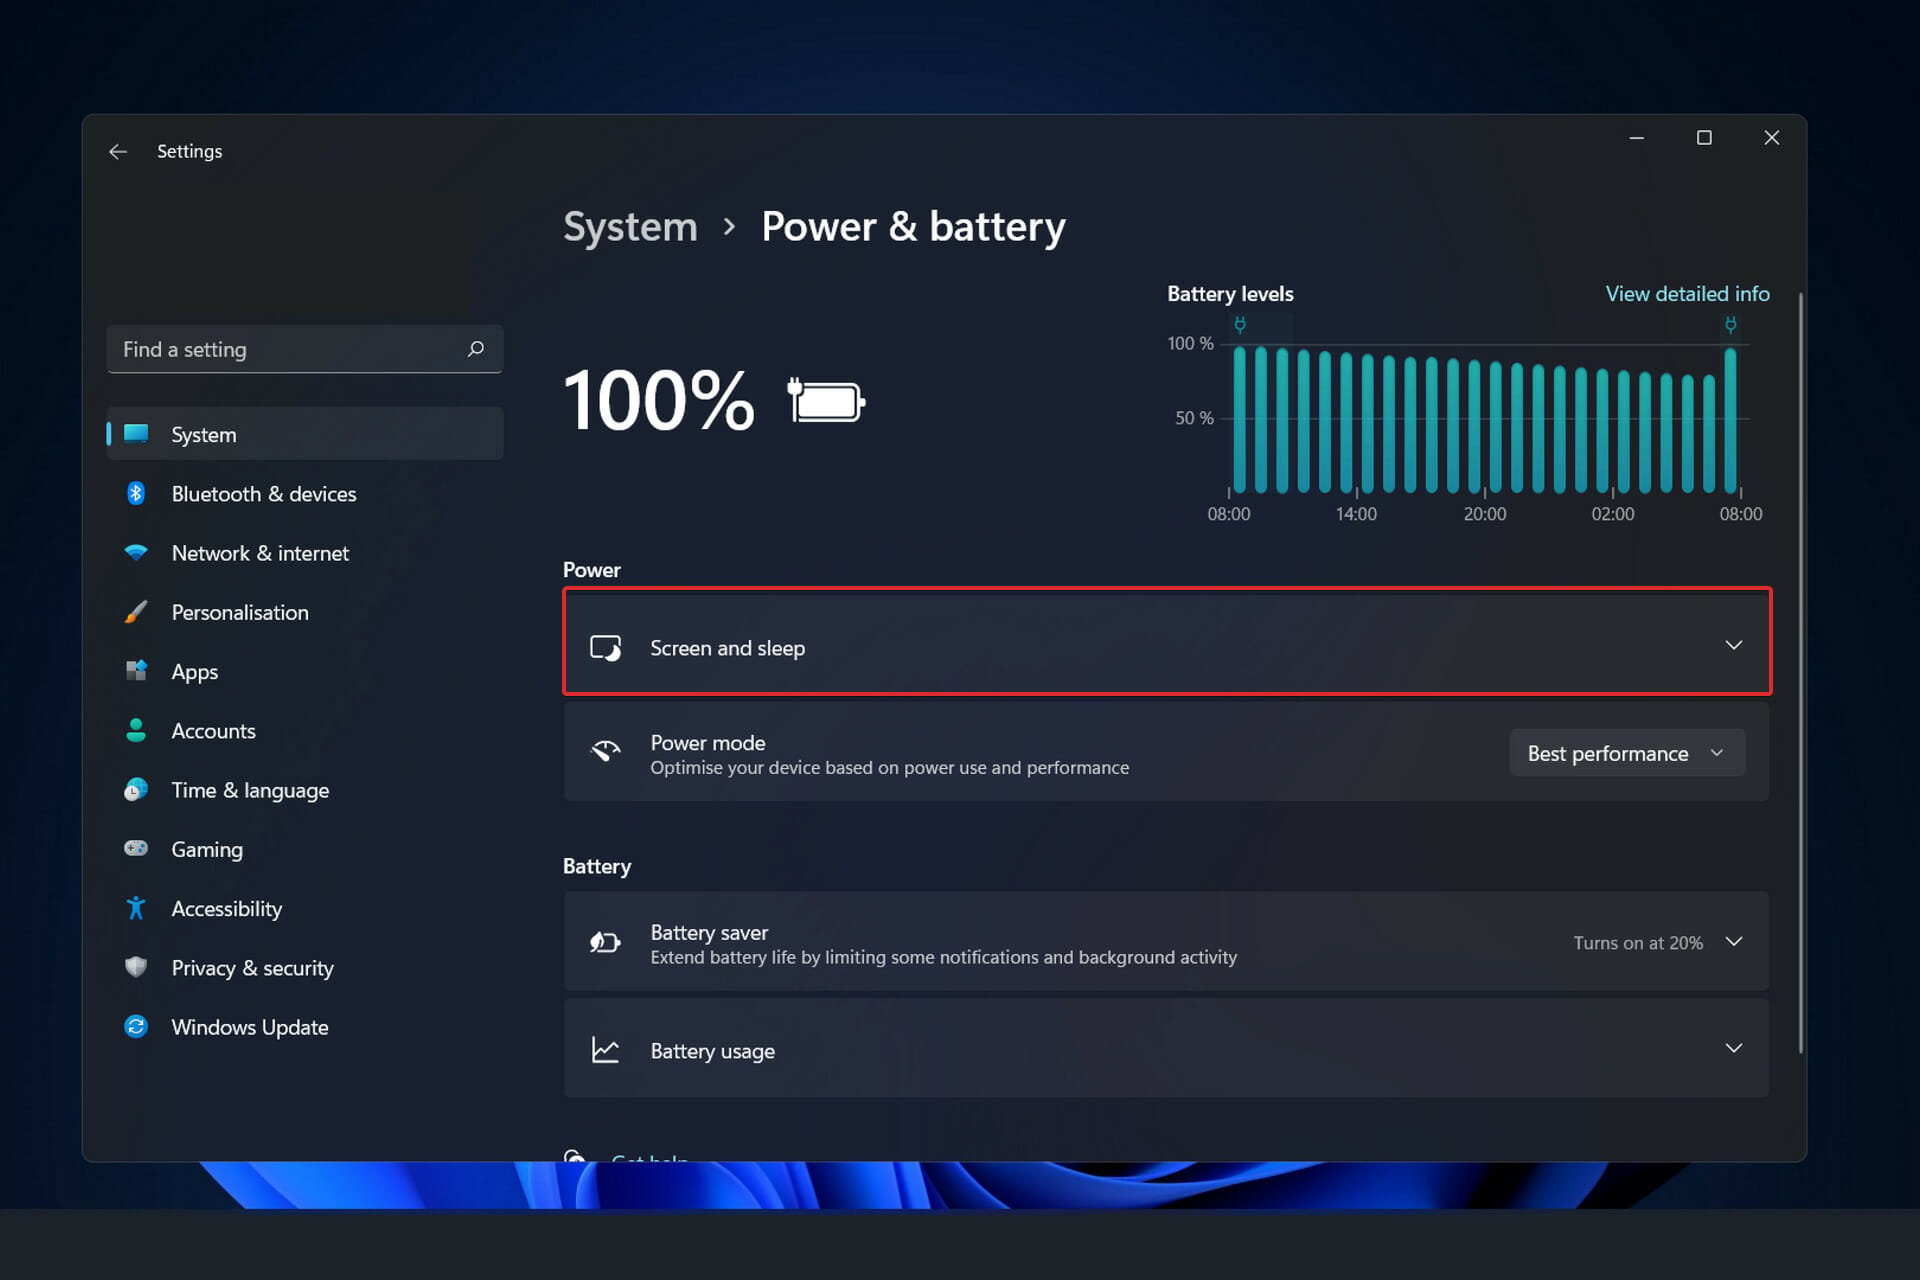
- Press the Windows key + I to open the Settings app and navigate to System in the left pane followed by Power & battery from the right side.

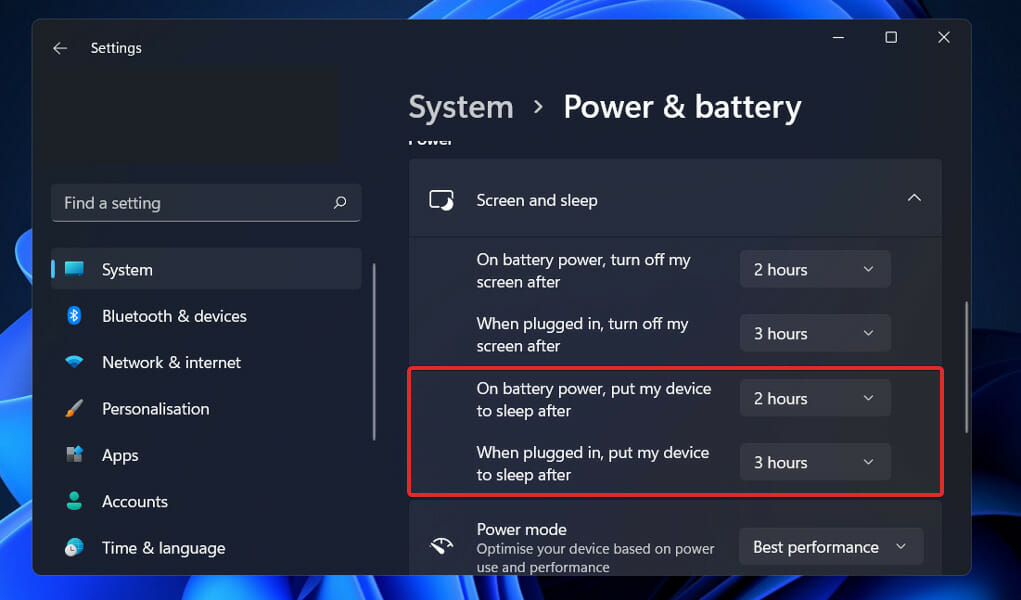
- Now scroll to the Screen and sleep section and manually set the time interval of inactivity after which you want your PC to enter Sleep Mode.


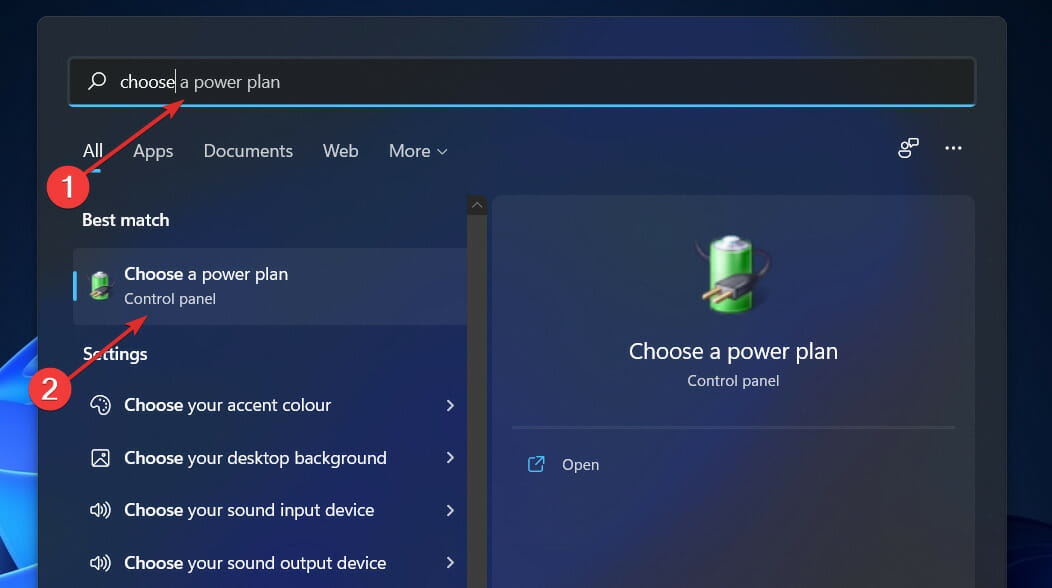
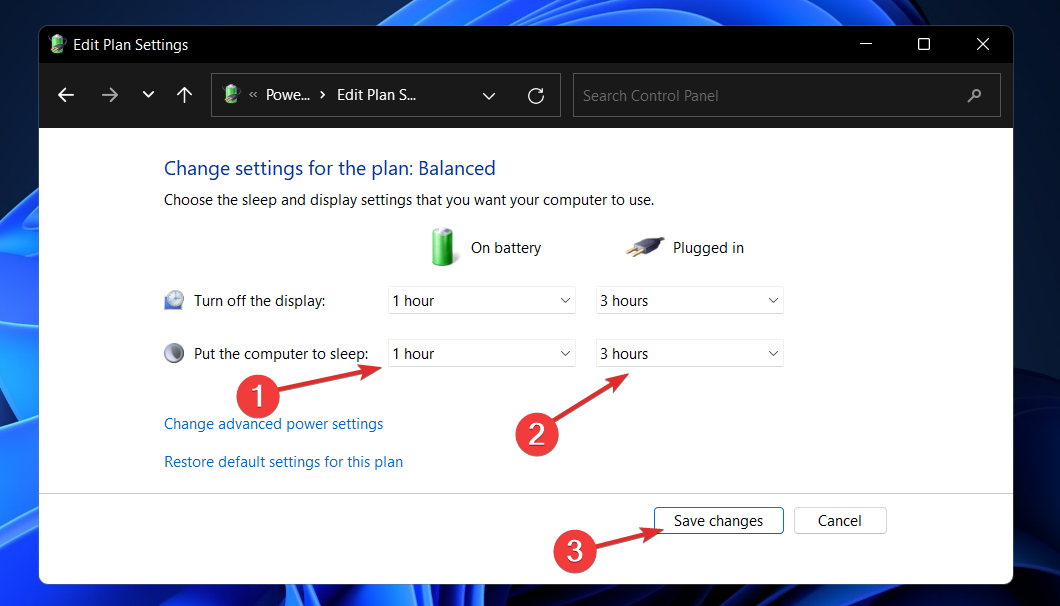
2. Set up a new Power plan
- Press the Windows + S key to open the Search bar, then type Choose a power plan and click on the most relevant result.

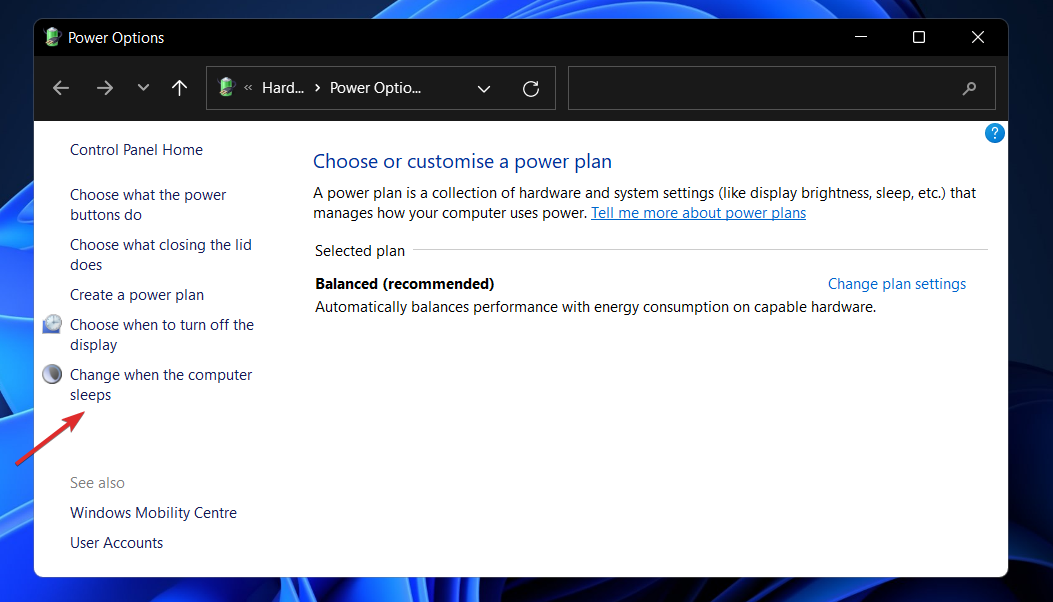
- Now click on Choose when the computer sleeps from the left panel.

- Lastly, choose when you want your computer to go into Sleep Mode, then click Save.

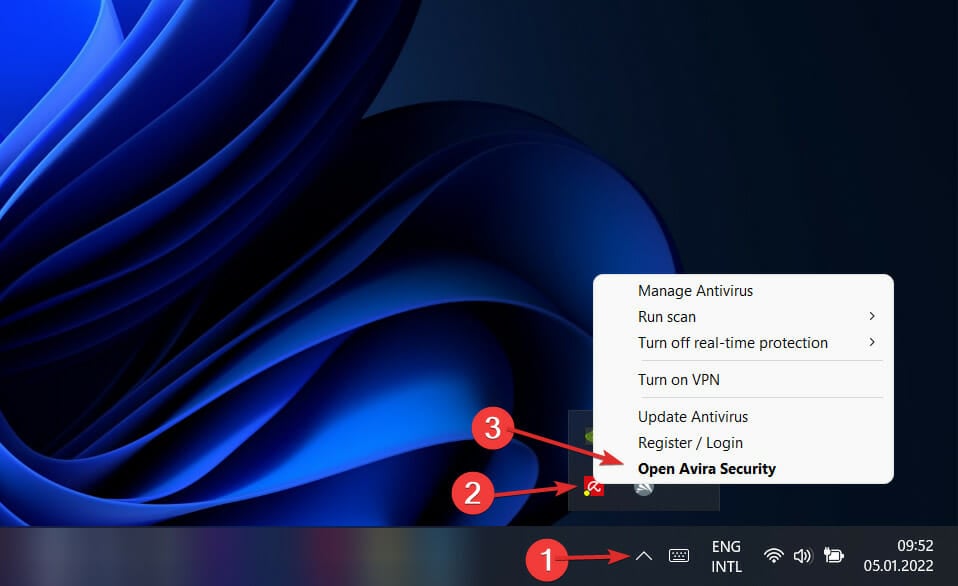
3. Perform a virus scan on your PC
- Click the carrot arrow from your Taskbar, in the right corner to find the antivirus you have installed, then right-click on it and choose the option that opens the app interface.

- Now click on the button that performs a Smart scan or anything similar to a virus scan.

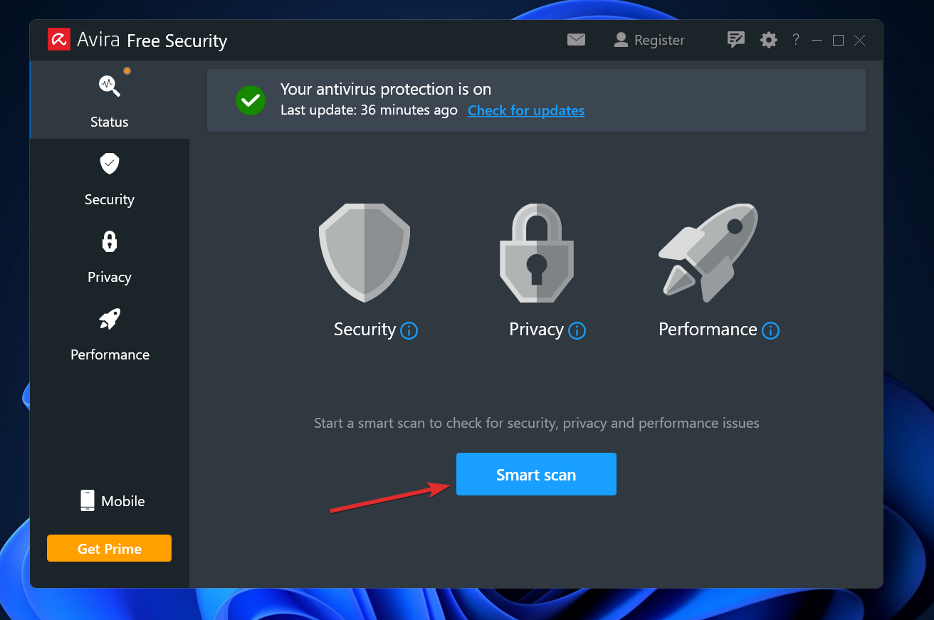
The existence of a virus or malicious software on your computer can prevent your device from entering Sleep Mode.
How we test, review and rate?
We have worked for the past 6 months on building a new review system on how we produce content. Using it, we have subsequently redone most of our articles to provide actual hands-on expertise on the guides we made.
For more details you can read how we test, review, and rate at WindowsReport.
In case you don’t have antivirus software and want to ensure that your PC is protected around the clock without any effort from your side, we recommend that you try out the powerful ESET Internet Security.
You can also explore the 5 best antivirus software on the market list for a complete list of other useful software options.
4. Remove the battery
This step applies to both users using a laptop or desktop computer. If you don’t have the Sleep Mode in Windows 11, even though all settings are proper, the most likely culprit is the battery itself.
Removing the CMOS battery for 15 minutes and reinserting it to see if the problem has been resolved is recommended. Alternatively, replace the CMOS battery.
If your device’s battery is not replaceable, you can use a third-party app to track how much power it has left before deciding to replace it.
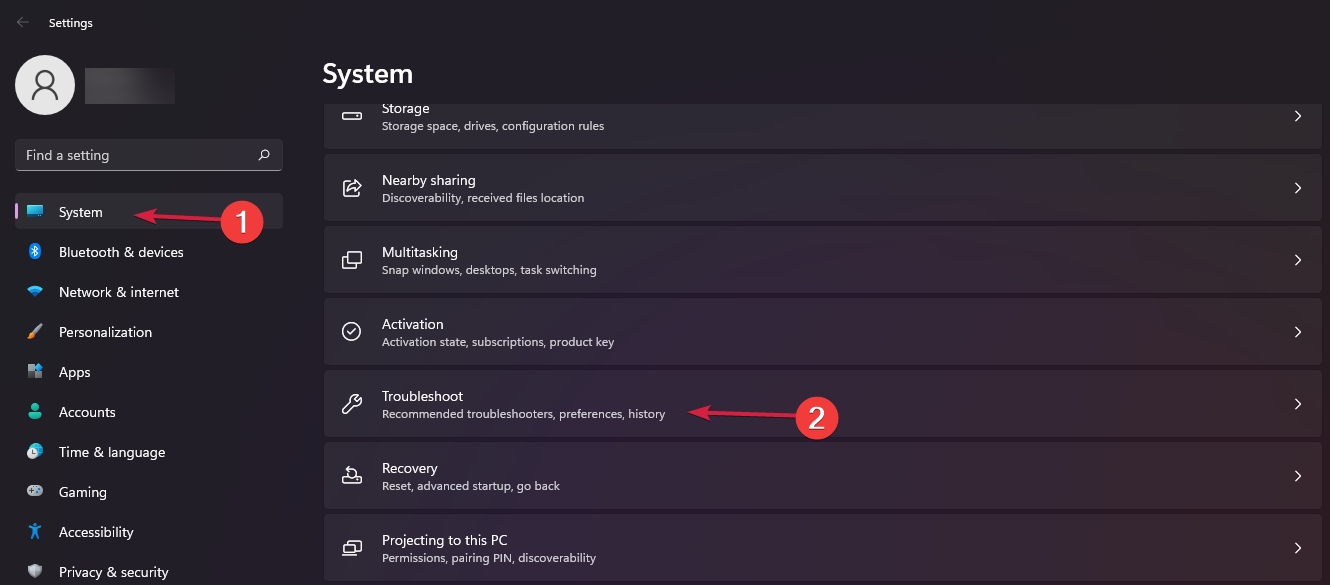
5. Use the Power troubleshooter
- Press the Windows key + I to start Settings.
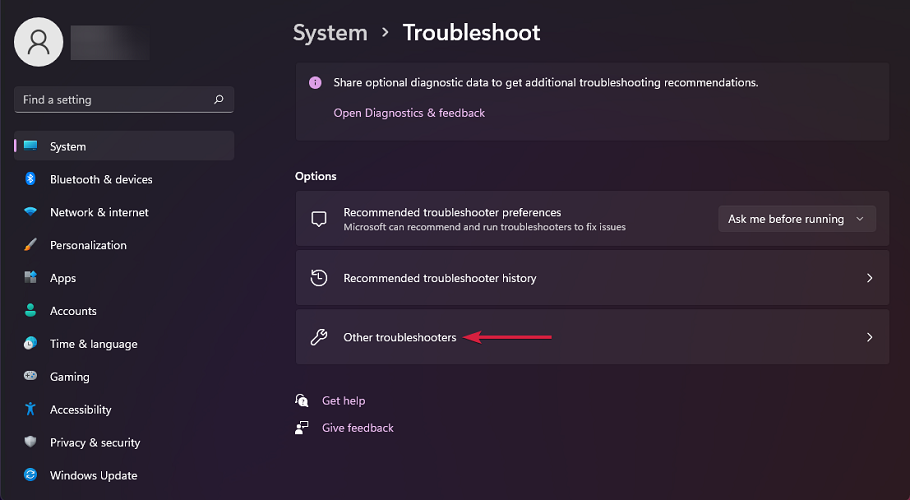
- Click on System from the left and select Troubleshoot from the right pane.

- Now, choose Other troubleshooters from the menu.

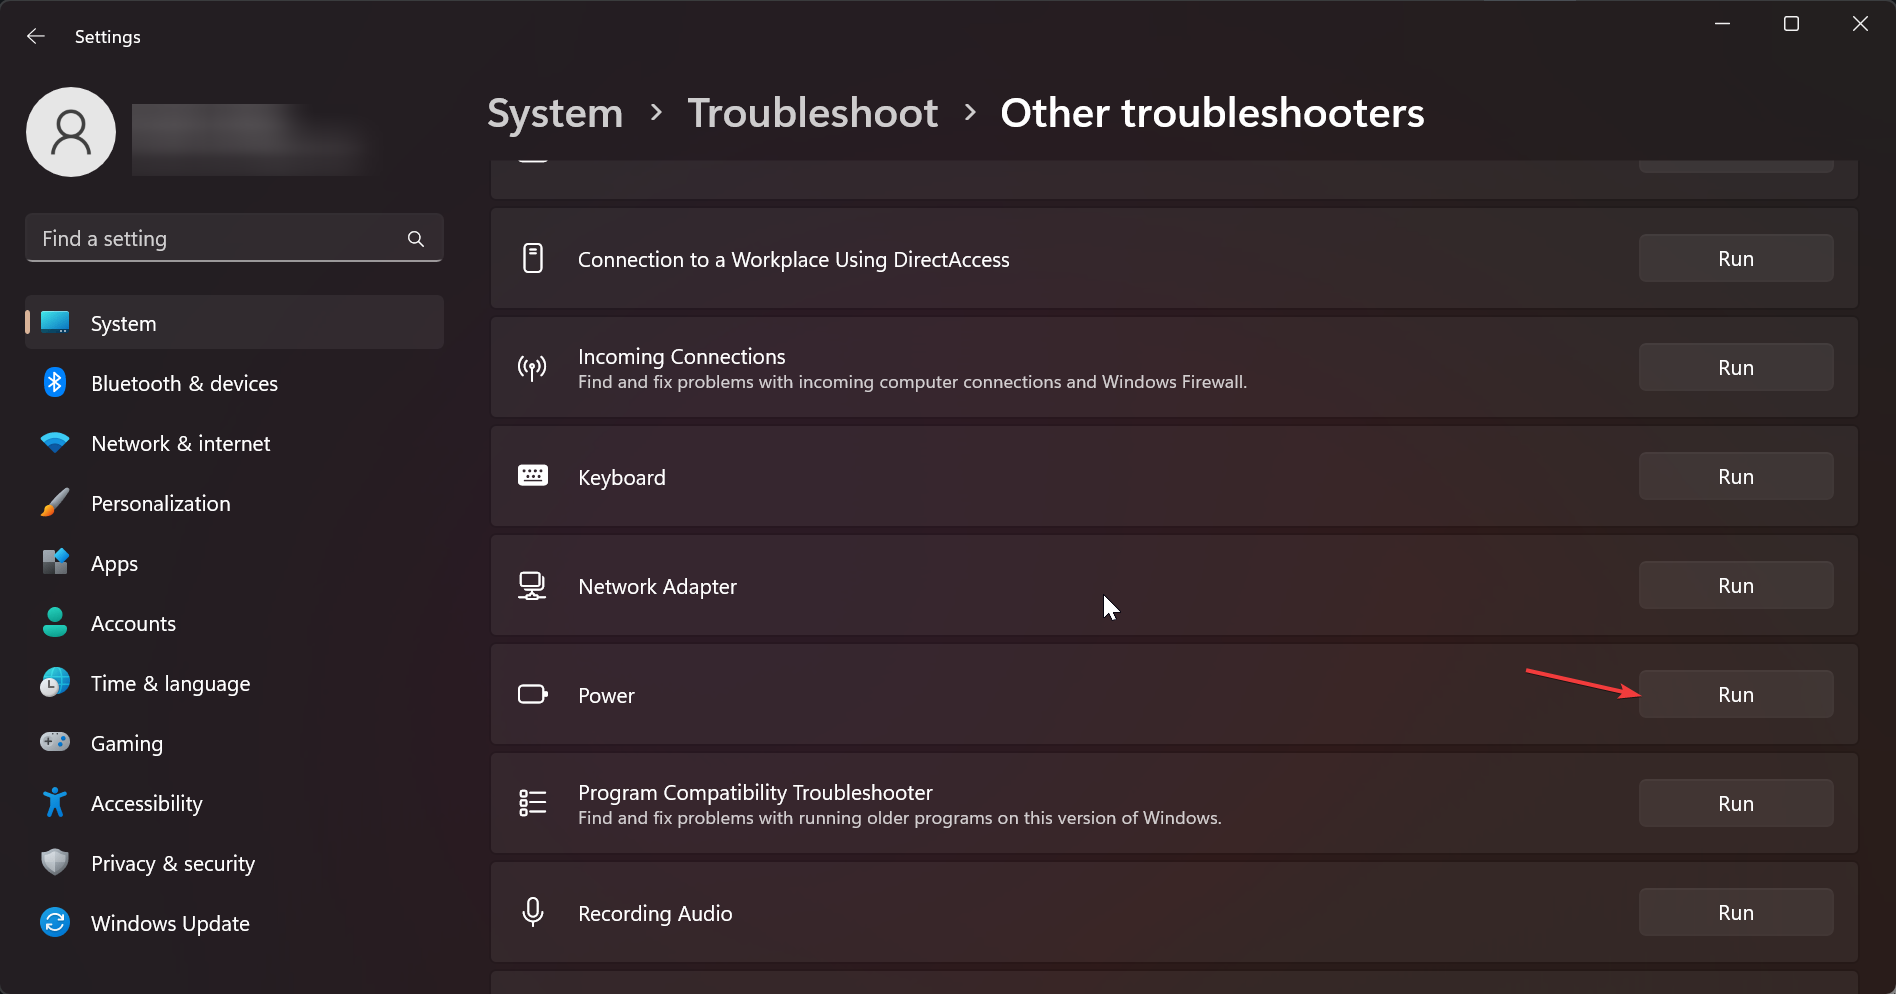
- Scroll down until you find the Power troubleshooter and hit the Run button.

- Follow the on-screen instructions to finish the procedure.
6. Turn off Screensaver mode
1. Press the Windows + S key to open the Search bar.
2. Type Turn screensaver on or off in the search box.
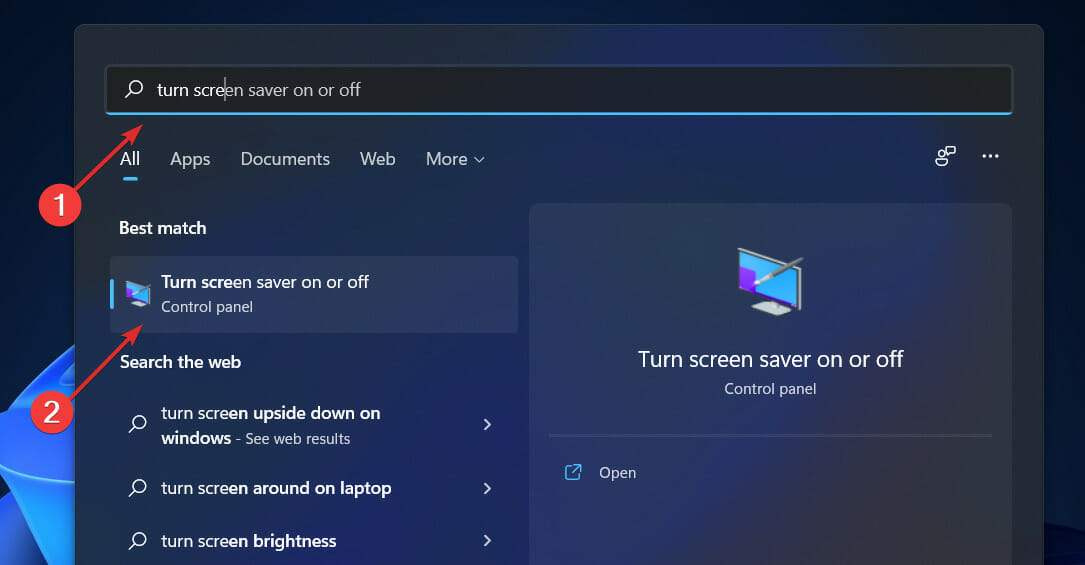
3. Click on the result.
4. The Screen Saver Settings menu will open. Choose None under Screen Saver.
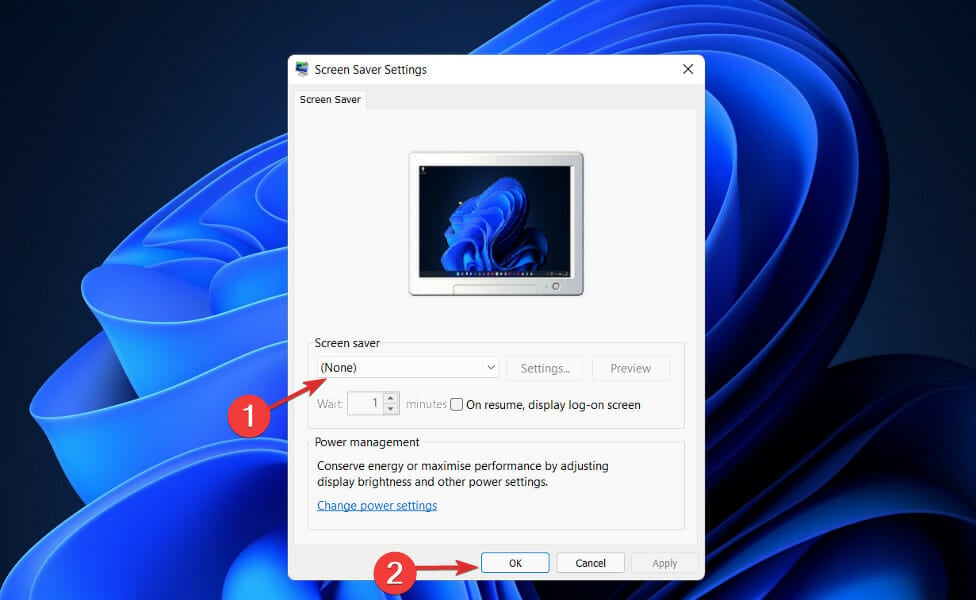
5. Click OK to apply and save the changes. Now the Screensaver Mode is turned off.
If your Windows 11 won’t go to sleep when you leave it inactive for a specific amount of time, it might be possible that the Screensaver mode is interfering.
When you have Screensaver mode enabled, it keeps your PC open. Thus, disabling it will allow your PC to enter Sleep Mode.
In the comments section below, let us know which solution worked best for you and whether you keep your computer in sleep mode overnight.